All posts by David H. Lawrence XVII

Adding A Script From Dropbox

Return to Help home


icon-dropboxSometimes, scripts are so large that they can’t be sent to Rehearsal® Pro via email.

This is usually due to them being scanned in at too high a quality level than required, resulting in very large file sizes. Users then resort to using a cloud service, like Dropbox, to upload the script and send a link to the file.

Simply sending a link to a file you have stored (or have been given access to) in Dropbox won’t be visible to our servers. Don’t send an email to your script+username address with a Dropbox link – it won’t work.

You either need to attach the actual PDF of the script, or, if the script is too large to attach, follow the step-by-step directions below for adding the script from Dropbox:

  1. Make sure you have the Dropbox app. You can get it from the iTunes App Store. It’s free.
  2. Using the Dropbox app, upload your script and view it (or view a script you’ve been given access to) on your iPhone or iPad.
  3. Tap on the three-dot menu icon in the upper right, then choose Export from the list of options.
  4. On the lower row of icons, tap on the icon that looks like the App Store, labeled Open in.
  5. Look for the Rehearsal® Pro icon in the list of apps, labeled Copy to Rehearsal® Pro, then tap on it to add your script.
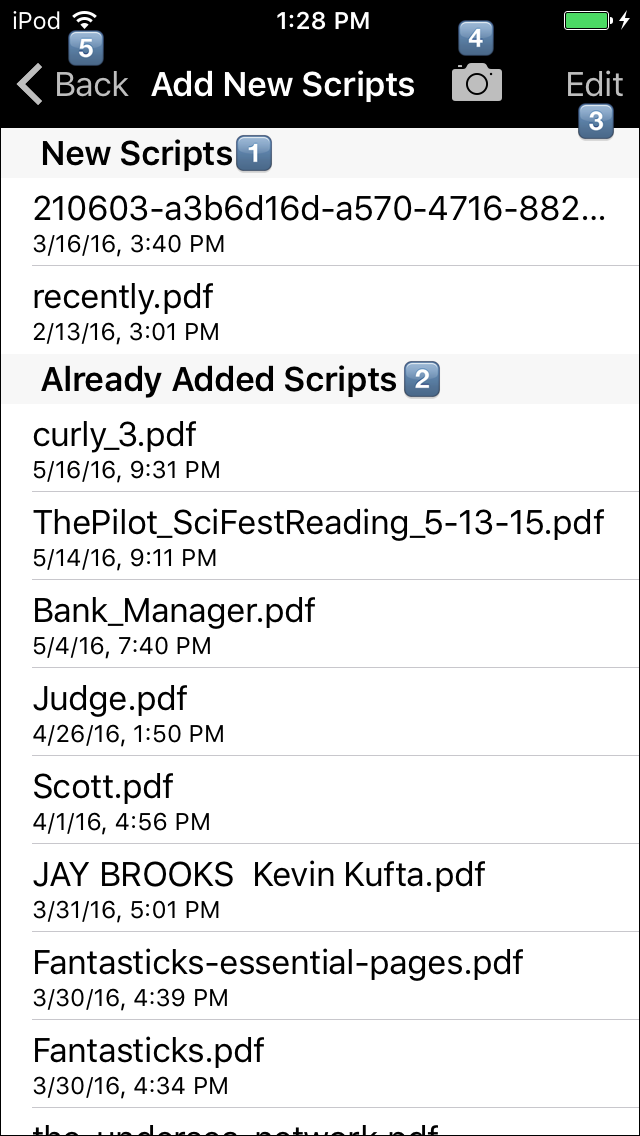
  6. You’ll be immediately transferred to the script in Rehearsal® Pro, already open the Add New Script area. Tap the Add button in the upper right hand corner to add it to your library of scripts.

Return to Help home

Adding A Script From Google Drive

Return to Help home


icon-google-driveSometimes, scripts are so large that they can’t be sent to Rehearsal® Pro via email.

This is usually due to them being scanned in at too high a quality level than required, resulting in very large file sizes. Users then resort to using a cloud service, like Google Drive, to upload the script and send a link to the file.

Simply sending a link to a file you have stored (or have been given access to) in Google Drive won’t be visible to our servers. Don’t send an email to your script+username address with a Google Drive link – it won’t work.

You either need to attach the actual PDF of the script, or, if the script is too large to attach, follow the step-by-step directions below for Google Drive:

  1. Make sure you have the Google Drive app. You can get it from the iTunes App Store. It’s free.
  2. Using the Google Drive app, upload your script and view it (or view a script you’ve been given access to) on your iPhone or iPad.
  3. Tap on the three-dot menu icon in the upper right.
  4. Tap on the icon that looks like four arrows pointing up, down, left and right. It’s labeled Open in.
  5. Slide to the Rehearsal® Pro icon in the list of apps, then tap on it to add your script.
  6. Go to the Add New Script area in Rehearsal® Pro and you’ll see the script there.

Return to Help home

Emailing A Script To Rehearsal® Pro

Return to Help home


To start rehearsing with a script in Rehearsal® Pro, the first step is adding the script to your My Scripts library of scripts. The most common way to do this is to email your script to your script+USERNAME email address. In a few minutes, your script will show up in your Add New Script area, ready to be added, prepped and rehearsed.

Here’s a video that shows you how, with a step-by-step below that:

Step by step

  1. Forward the email containing your script PDF file as an attachment to your script+USERNAME email address you were given when you registered with the Rehearsal® Pro app.
  2. Wait for the confirmation email that tells you the script is waiting to be added. Once you get that, go to the Rehearsal® Pro app, and tap on the Add New Script button toward the top of the Main Menu.
  3. You should see the new script at the top of the list.

Return to Help home

Exploring Register/Login

Return to Help home


Tapping on the Register/Login button on Rehearsal® Pro’s main menu will take you to the area in the app where you can create your account: choosing your username, your password, and other new account information.

Now, the Register/Login button might not be visible to you. That button in the lower right hand corner might say Account/Settings instead.

That’s OK – that just means you’re already logged in to the app. If the button says Account/Settings, we have a separate help video for that, and you can find it here.

Here’s a video that shows you how to use the Register/Login area:


Return to Help home

Exploring Account/Settings

Return to Help home


Tapping on the Account/Settings button on Rehearsal® Pro’s main menu will take you to the area in the app where you can manage your account: your password, your authorized senders, and other account information.

Now, the Account/Settings button might not be visible to you.

If it isn’t, it’s OK – that just means you’re not logged in to the app. or haven’t yet created an account, and the button says Register/Login. We have a separate help video for that, and you can find it here.

Here’s a video that shows you how to use the Account/Settings area:


Return to Help home

Exploring My Scenes

Return to Help home


The My Scenes button on Rehearsal® Pro leads you to the screen that allows you to manage and edit all of the scenes you’ve recorded for rehearsal.

Remember, once you’ve finished highlighting your lines and adding any other markup, only then will you create your scene(s) by recording them. And only then will those recorded scenes be stored in My Scenes, listed under each script you’ve got. Until you record your first scene, there will be no listing of scenes under My Scenes. As you record more scenes, and as you add more scenes from more scripts, your listings in My Scenes will grow accordingly.

Here’s a video that gives you an overview of My Scenes:

My Scenes’ features

Here’s what My Scenes looks like in normal selection mode:

my-scenes-selection-mode-numbered

  1. The Script Title: each scene you’ve recorded with a particular script is organized here
  2. The Open button: when tapped, shows you all the scenes you’ve recorded for that particular script.
  3. The Scene Title: when tapped, takes you to the scene for rehearsal or further markup (highlighting, recording etc.)
  4. The Cloud icon: lets you download the latest updates you’ve made to the scene on other devices
  5. The Group: created when you combine two or more scenes in a group. Opens to allow individual scenes to be accessed.
  6. The Group Play button: when tapped, takes you to the scenes, and plays them as a group, then repeats continuously.
  7. The Edit button: when tapped, displays My Scenes in edit mode, as shown below.

Here’s what My Scenes looks like in edit mode (after tapping the Edit button):

my-scenes-edit-mode-numbered

  1. The Script Name: each scene you’ve recorded with a particular script is organized here.
  2. The Open button: when tapped, shows you all the scenes you’ve recorded for that particular script.
  3. The Scene Renaming button: tap on the scene name to rename the scene.
  4. The Select for deletion button: tapping on that “circle with a minus sign” slides open the Delete button.
  5. The Delete button: lets you delete a scene you’ve recorded.
  6. The Cloud icon: lets you download the latest updates you’ve made to the scene on other devices
  7. The Reorder thumb: tapping and dragging with this control lets you move a scene to be displayed in whatever order you want, within the script.
  8. The Done button: tapping this button returns you to normal selection mode.

Return to Help home

Exploring My Scripts

Return to Help home


The My Scripts button on Rehearsal® Pro leads you to the screen that allows you to manage and edit the information about your scripts, and access them to record scenes for rehearsal.

Here’s a video that explores all you can do with My Scripts:

My Scripts’ features

Here’s what My Scripts looks like in normal selection mode:

my-scripts-selection-mode-numbered

  1. The Current category: each script that are currently working with is listed here
  2. The Archived category: shows you scripts that you’ve moved and archived, usually after you’re finished working with them.
  3. The Information button: lets you review or edit that script’s Script Information page, listing details you’ve entered about the project the script
  4. The Cloud icon: lets you download the latest updates you’ve made to the script on other devices
  5. The Edit button: places you in edit mode, described below.

Here’s what My Scripts looks like in edit mode (after tapping the Edit button):

my-scripts-edit-mode-numbered

  1. The Current category: each script that are currently working with is listed here
  2. The Archived category: shows you scripts that you’ve moved and archived, usually after you’re finished working with them.
  3. The Select for deletion button: tapping on that “circle with a minus sign” slides open the Delete button.
  4. The Cloud icon: lets you download the latest updates you’ve made to the script on other devices
  5. The Delete button: lets you delete a script from your library, from either category.
  6. The Reorder thumb: tapping and dragging with this control lets you move a script from either category to the other.
  7. The Done button: tapping this button returns you to normal selection mode.

Return to Help home

Exploring Add New Script

Return to Help home


The Add New Script button on Rehearsal® Pro leads you to the screen that allows you to add scripts that you’ve sent to your script+USERNAME address to your Rehearsal® Pro library. It has a few other controls you should know about.

Here’s a video that shows you all the features of Add New Script:

Add New Script’s features:

add-new-script-numbered

  1. The New Scripts category: each script that you’ve sent to Rehearsal® Pro, but not yet added to your library, is listed here
  2. The Already Added Scripts category: shows you scripts that you’ve already added.
  3. The Edit button: lets you delete scripts from your collection
  4. The Camera button: lets you snap pictures of each page of a physical script to rehearse with, using the free Adobe Scan app
  5. The Back button: takes you back to the Main Menu.

Return to Help home