Now that you have your script displayed on your screen, choose your orientation by rotating your device to either portrait (taller, with your device straight up) or landscape (wider, with your device on its side).
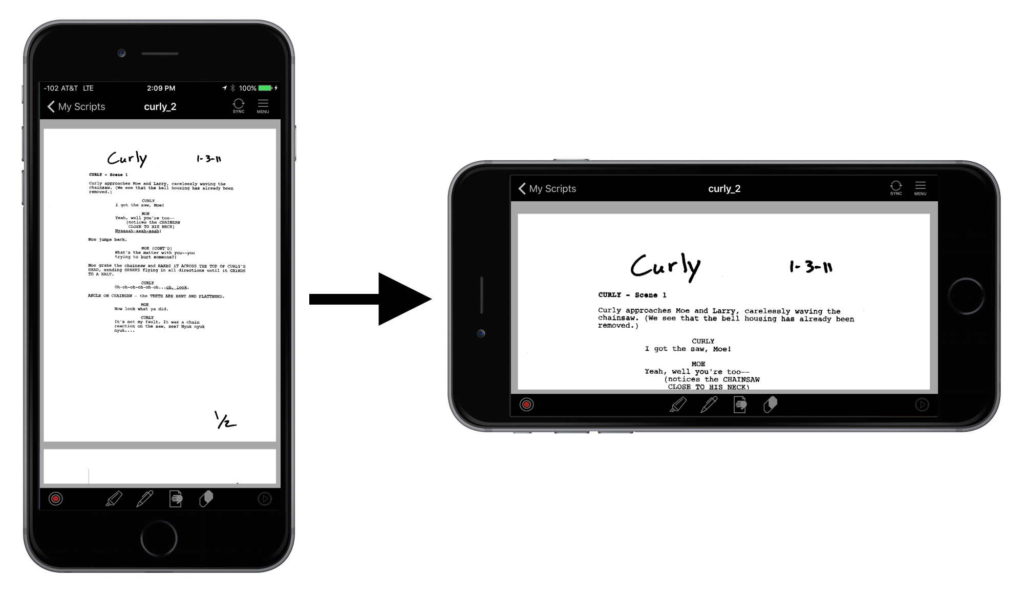
We’ll be using the landscape mode from here on, but you can certainly use Rehearsal® Pro in portrait mode if you prefer.
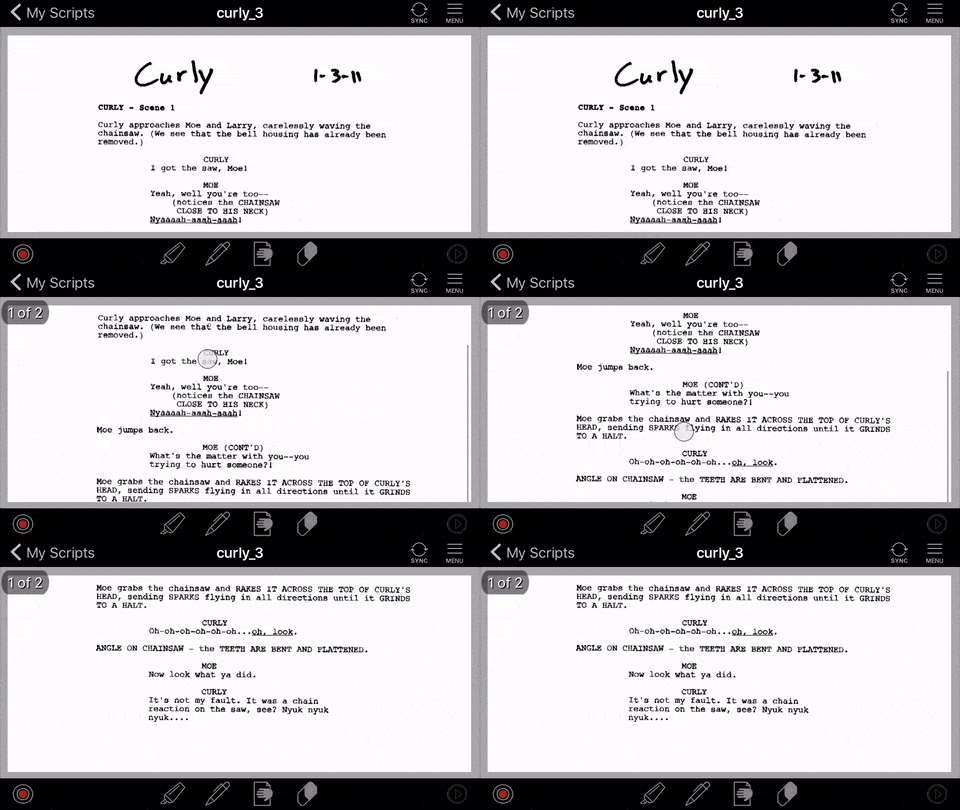
Scroll to where you want to begin highlighting your lines. You scroll by using your finger, and swiping from the bottom of your screen to the top:
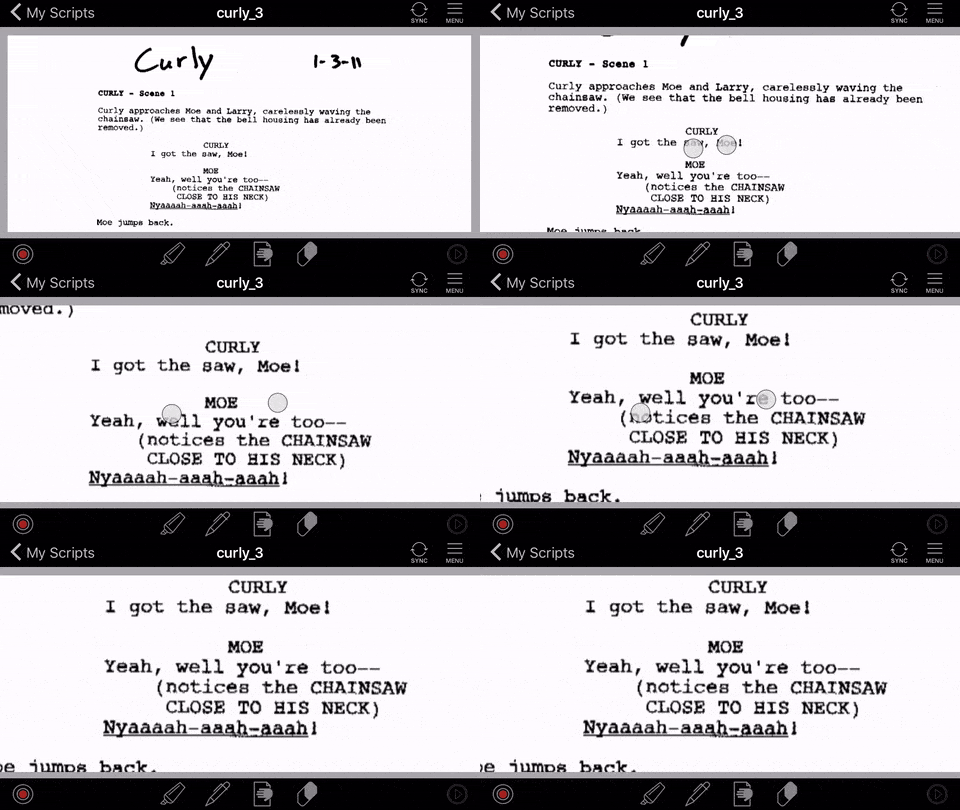
Then, using two fingers to expand or contract the image on your screen, zoom in on your lines so they fill the width of your screen:
Then, tap and hold on the highlighting tool on the toolbar at the bottom of the screen. It’s the first tool in the set of four:

Tapping on it once selects the tool, with the last color used. In this case, after tapping, it shows yellow:

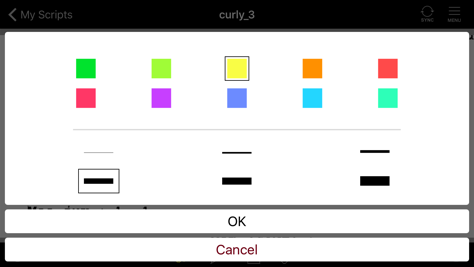
Tapping-and-holding on the highlight icon for two seconds, brings up the highlighter selection screen, where you can choose your color and thickness of the highlight:
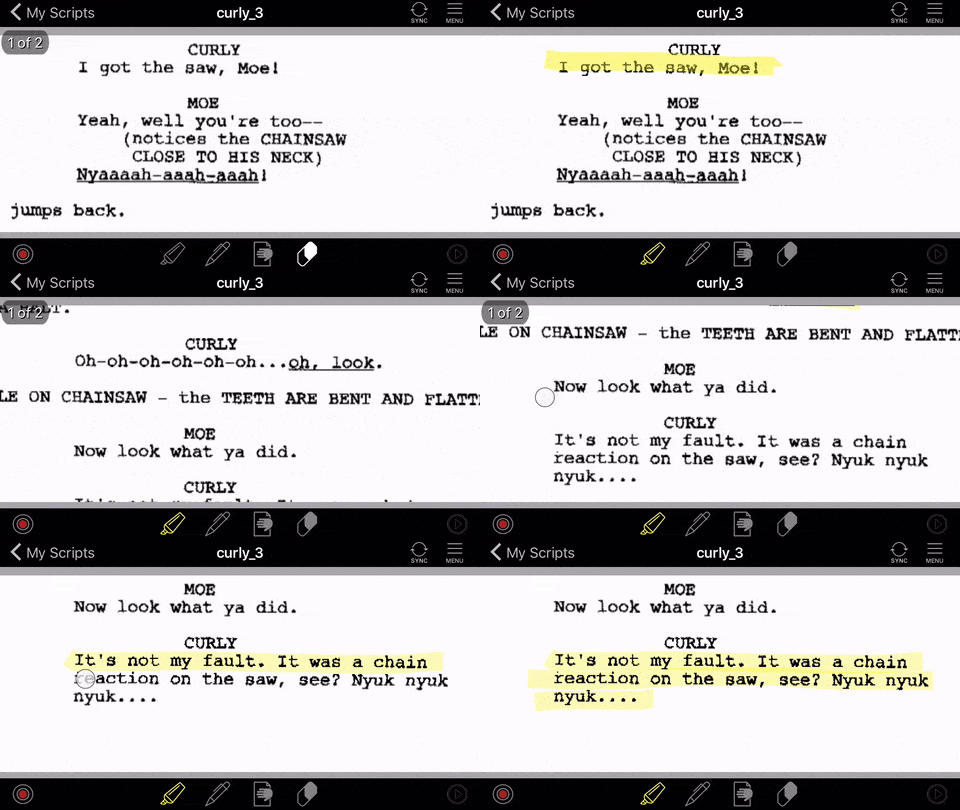
Then, using the highlight tool, pretend that the tip of your finger is the tip of a real highlighter, and highlight your lines by simply swiping them from left to right (or right to left). You can scroll up and down in your script, but you can’t scroll left to right – your script is locked in that direction so you can apply the highlighting:
