(This help document describes how to snap photos of the pages of a printed script with the same device on which you use Rehearsal® Pro, and import them directly into your Add New Script area. But you can also use a desktop scanner to scan in a physical script to a PDF, in low-res grayscale, 100-150 dots per inch, and only in letter (US) or A4 (UK) industry standard page sizes. Don’t scan in any other size page size. You can then email that PDF to your Rehearsal® Pro account. Otherwise, use this method for best results.)
When you have a printed script and want to use the camera on your iPad or iPhone to scan it into Rehearsal® Pro, here’s how to use the free Adobe Scan app to do that.
First, if you don’t yet have the Adobe Scan app, go get it now from the App Store. If you’re viewing this page on your device, just click this link to get it:
https://itunes.apple.com/us/app/adobe-scan-pdf-scanner-documents-receipts/id1199564834?mt=8
Launch the Adobe Scan app.
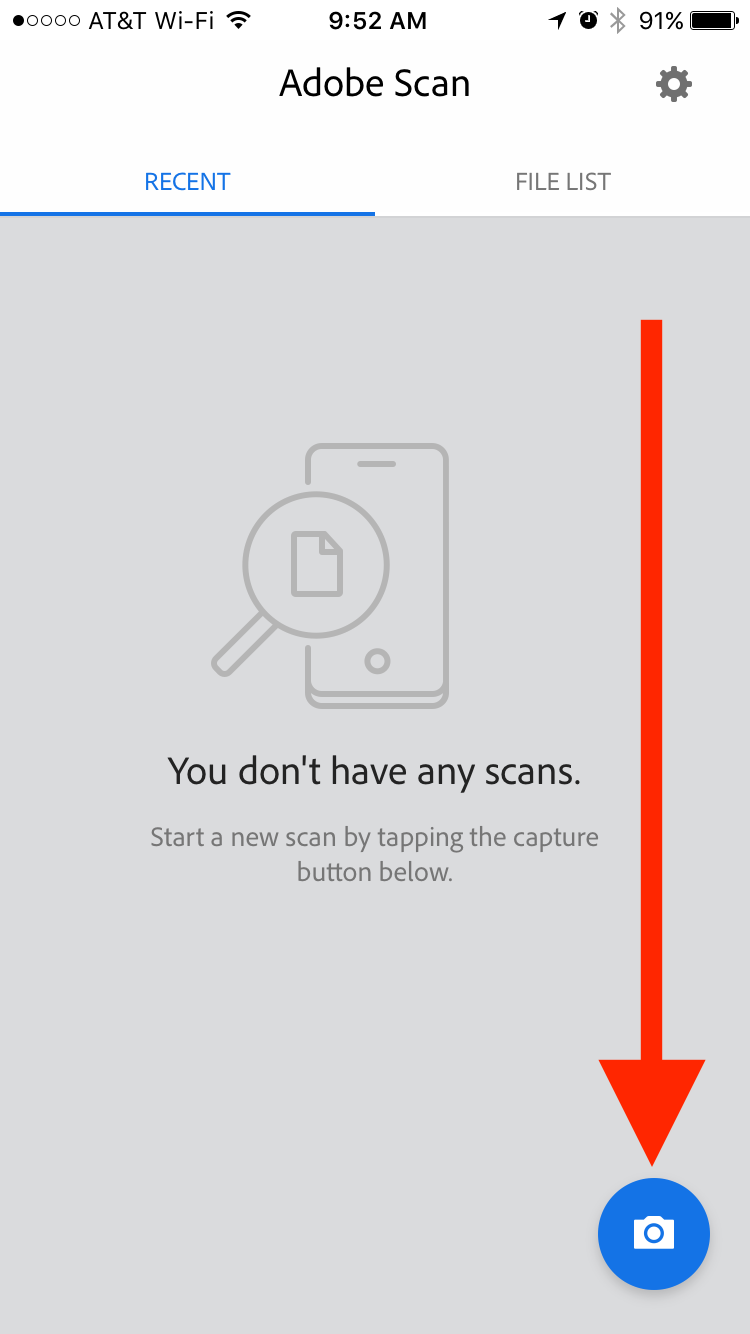
If Adobe Scan does not immediately go into camera scanning mode, then tap the blue button in the lower right.
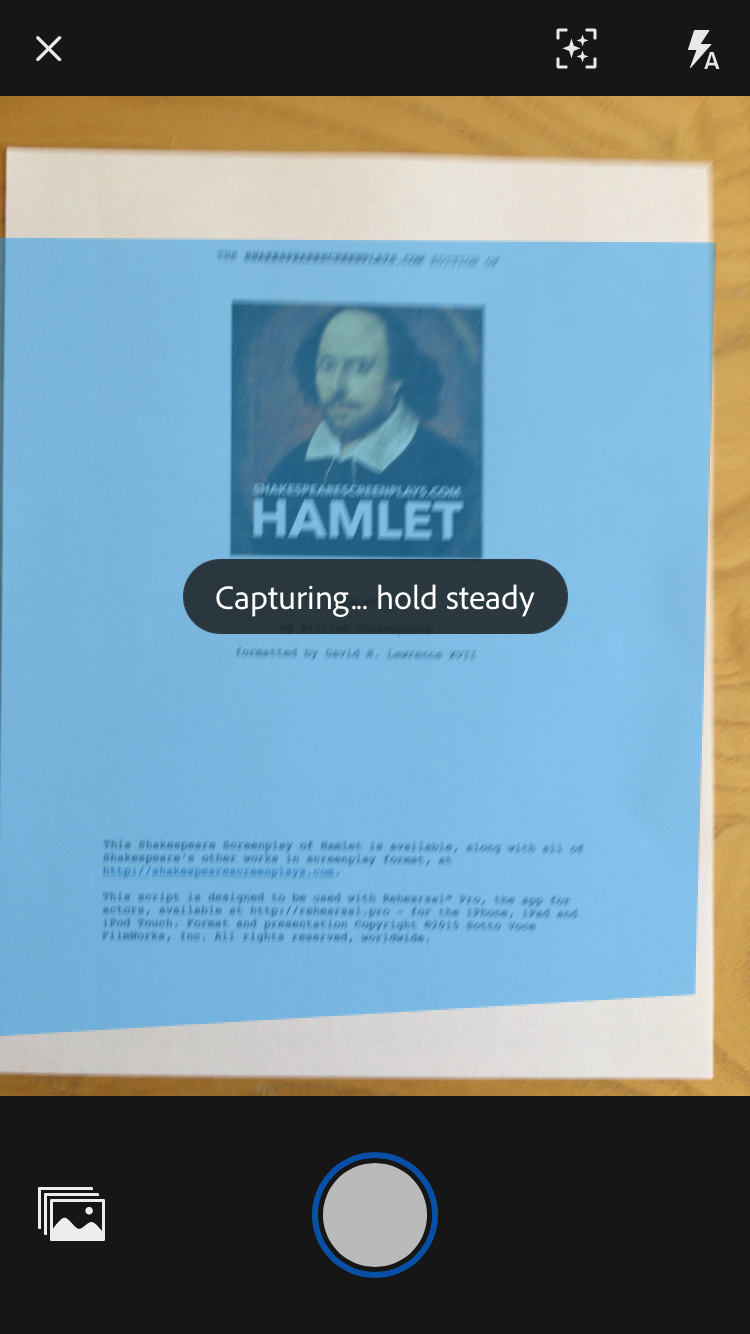
Once in camera scanning mode, Adobe Scan is pretty aggressive. It will take a photo of anything that resembles a piece of paper.
So…have your first page ready to scan, aim the camera at it, and hold steady.
After taking the photo, Adobe Scan will instantly be ready for the next page, so keep aiming at successive pages and it will eat them up quickly.
Don’t worry if a photo is skewed, fuzzy, or the wrong page, you can delete individual pages later.
If you think a photo was bad in some way, just let Adobe Scan take another (hopefully better) photo of the same page.
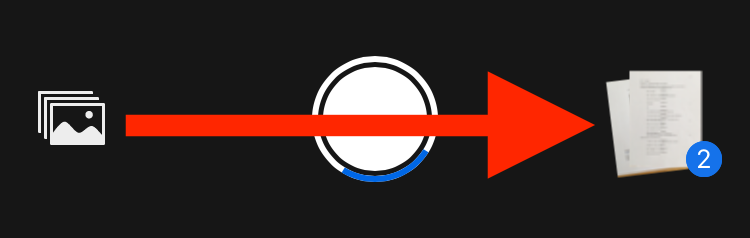
As soon as you’ve taken a photo, a stack of pages and a page count will appear in the lower right corner. After you’ve scanned your last page, tap that stack to tell Adobe Scan you are done scanning.
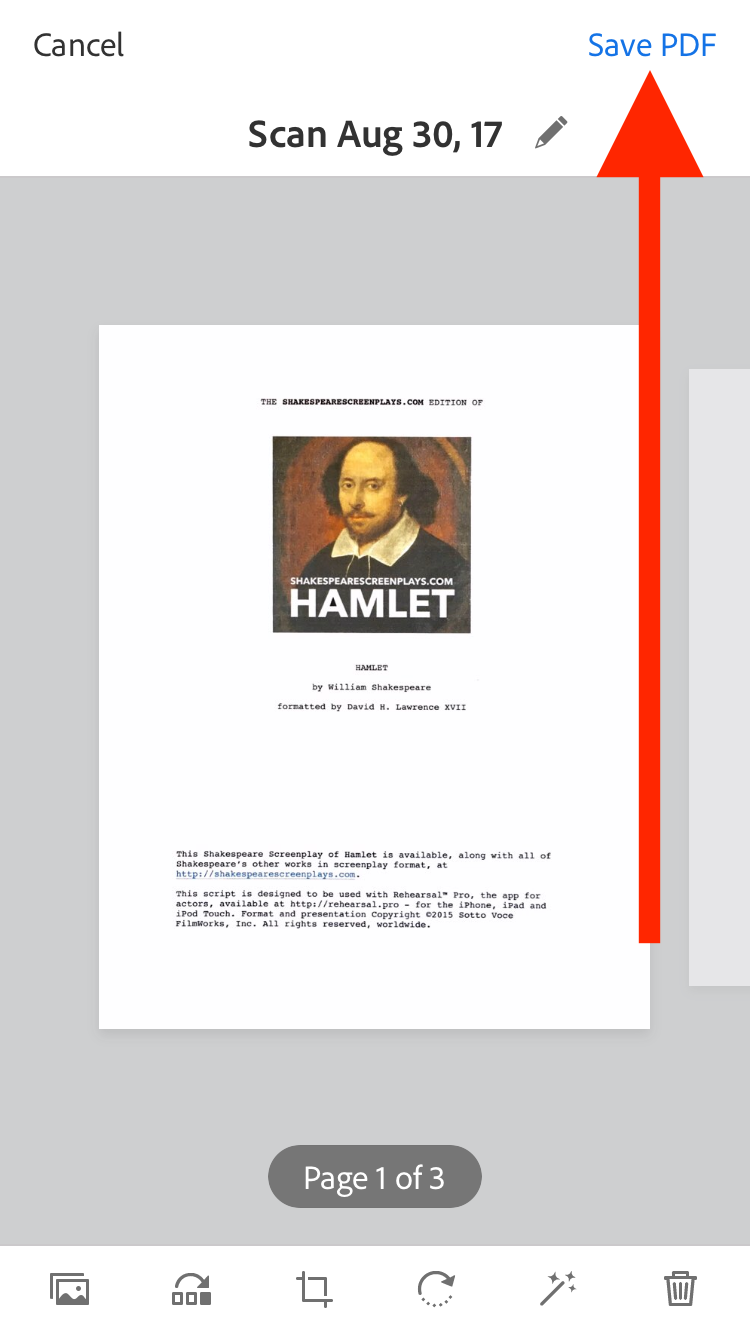
You’ll be taken to a screen that shows your first page. This is where you can scroll through the pages, delete bad ones, and use any of the numerous tools on the bottom to reorder, crop, rotate, etc. Once you’re ready to save the script, tap the Save PDF link in the upper right.
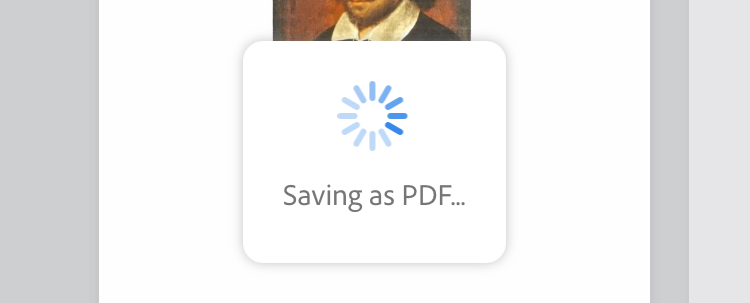
Adobe Scan will then go through a few steps processing your file. Saving…
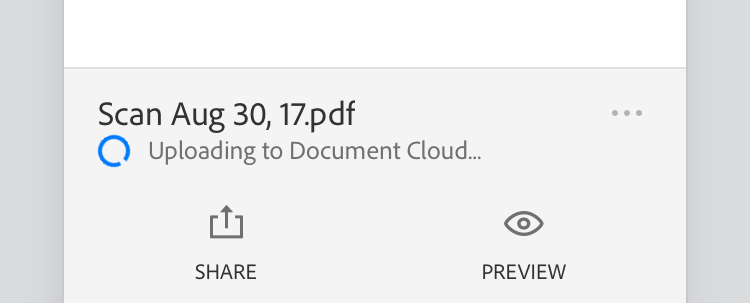
then uploading to the Adobe Document Cloud…
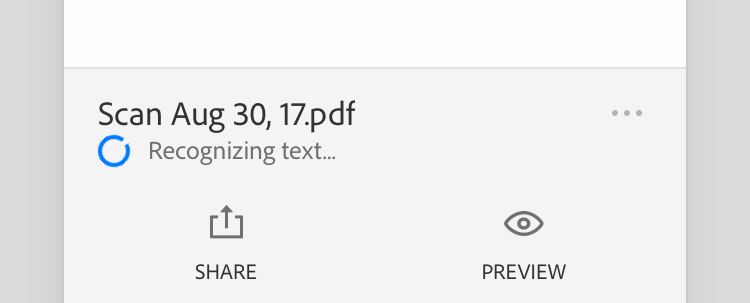
then recognizing text… Be sure to let it finish this step because this is what will allow you to search within the script once you’ve loaded it into Rehearsal® Pro.
When Adobe Scan is done processing it will give your new file a boring name with the date in it. To rename the file to something more meaningful, tap the three-dot icon and then the Rename button.
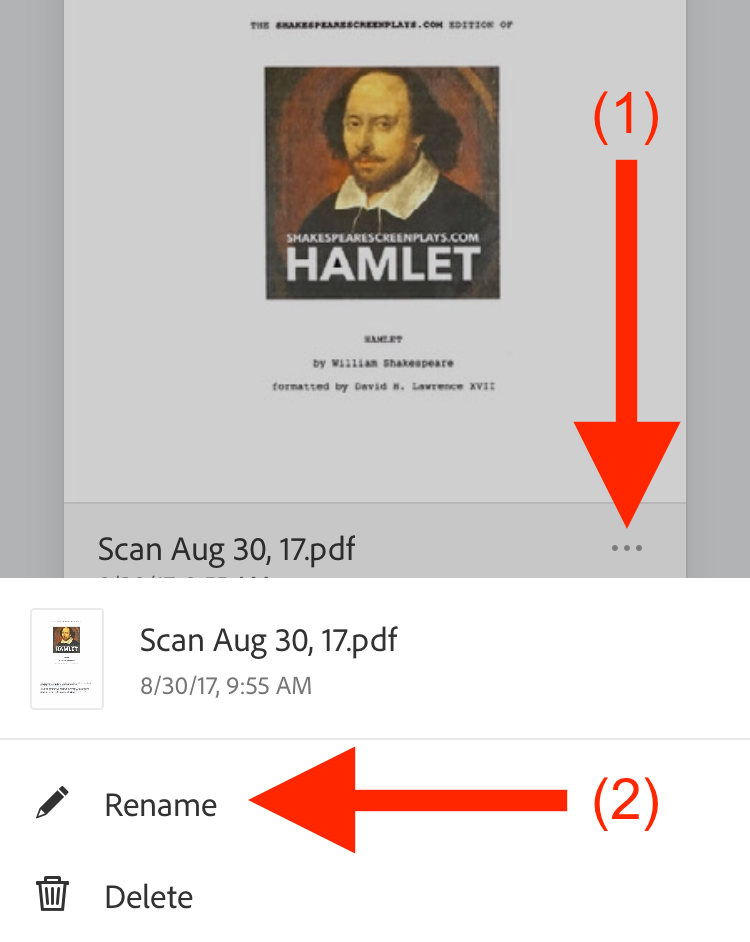
Give the file a meaningful name. This file name will also become the default script name when you load it into Rehearsal® Pro so name it well here and save yourself time later. After entering a good file name, tap the Rename button.

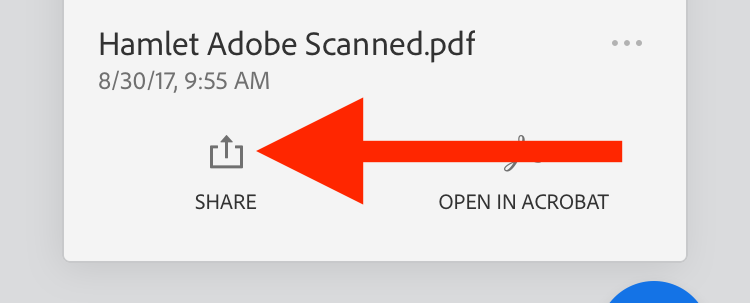
You’re now ready to “share” your newly scanned script with Rehearsal® Pro, so tap the SHARE button below the file name and date/time.
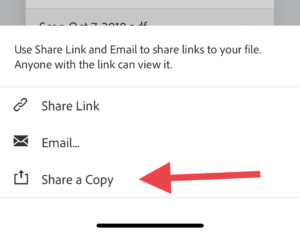
Then choose the Share a Copy button:
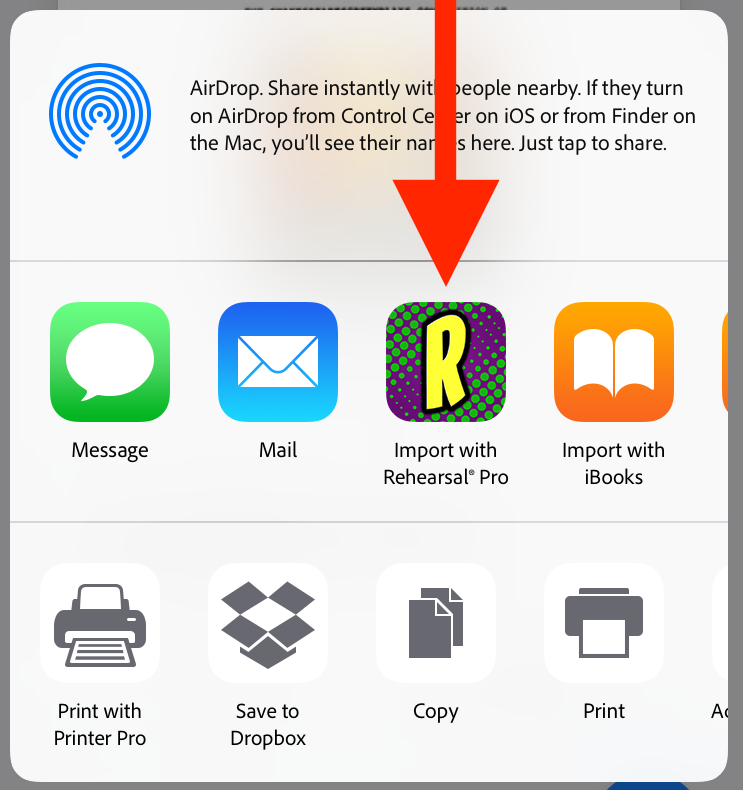
Then tap the Import with Rehearsal® Pro button. You may need to scroll that row to find it.
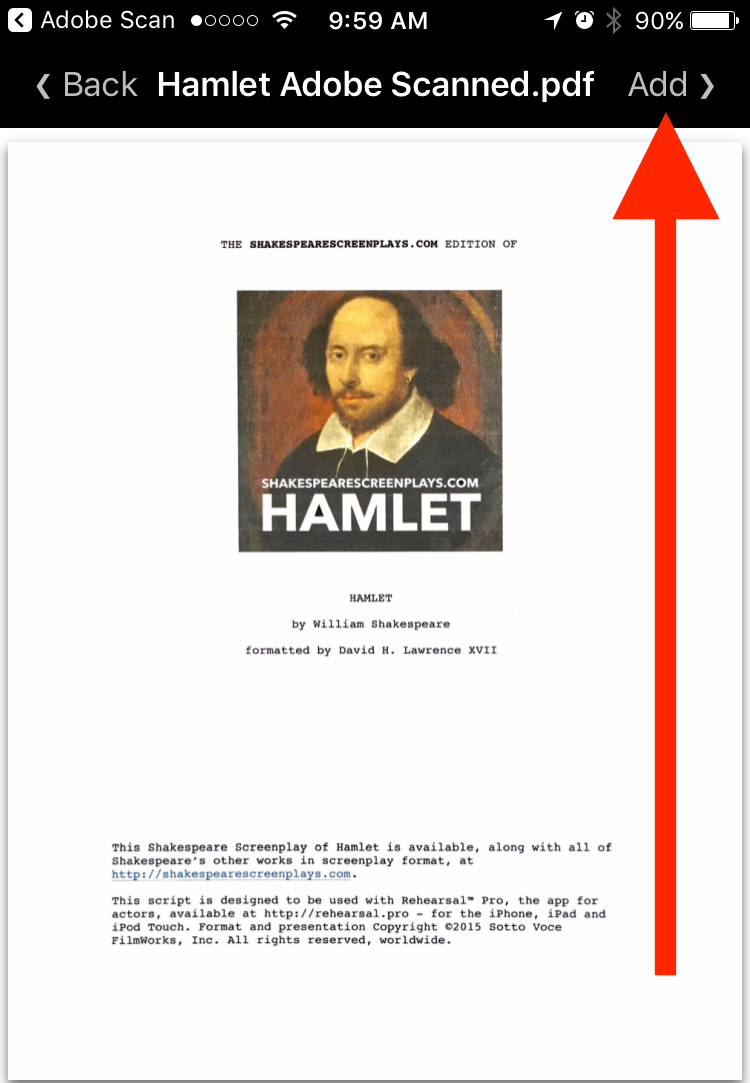
Your new script will be launched directly into the “Add New Scripts” function of Rehearsal® Pro, so tap the Add button in the upper right and continue in the same fashion as if you had emailed the script to your account.
Voilà!